


Hello everyone! Today, we are going to make mini-notebooks that you can share with your friends and family or just make a whole bunch for yourself.

YOU WILL NEED:
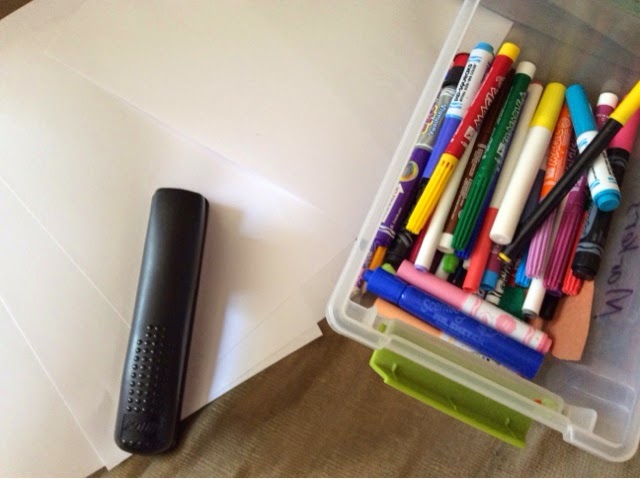
Paper: 2-5 pieces for each notebook. (I used 4 in this one but for others, I used 2.)
Markers: For decorating the front of your notebook.
Stapler: To bind everything together.
Scissors: (Not shown) to cut each piece of paper.
STEP 1:

Take one piece of paper and fold it in half.
STEP 2:
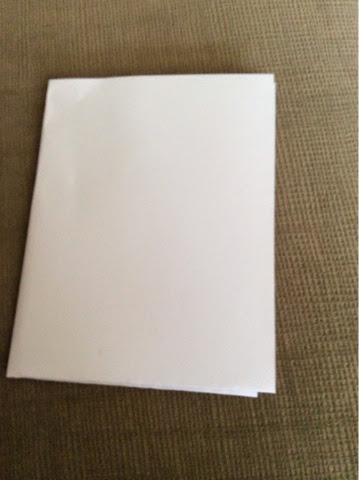
Take that same piece of paper and fold it in half again. Try to do this as accurately as possible.
STEP 3:
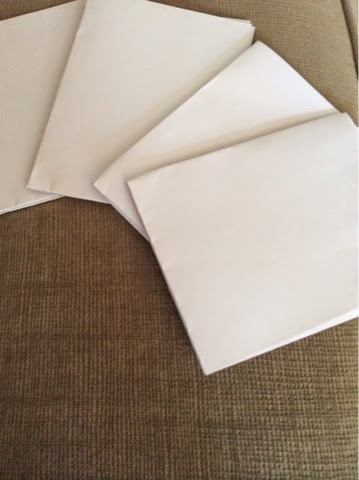
Do the same thing with the rest of your papers. They should look like this.
STEP 4:
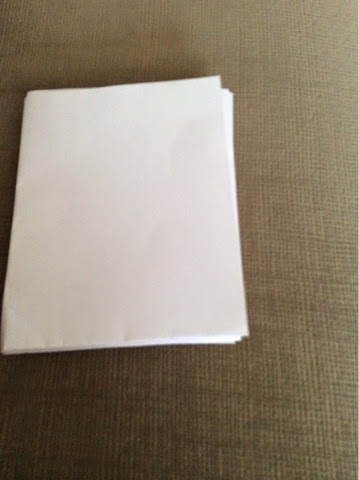
Line up all of the papers together on top of each other like so.
STEP 5:

Staple the left side of the "notebook" like so.
STEP 6:
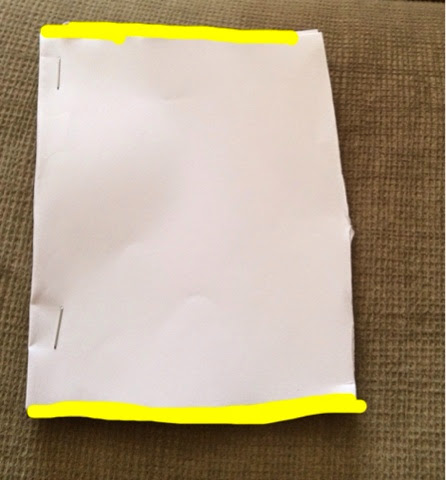
Use your scissors and cut on the spots where the yellow lines are on. You should now be able to flip through the pages.
STEP 7:
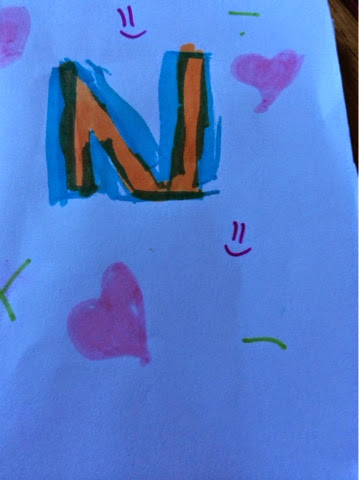
Decorate and enjoy writing! Make some for your friends too!

I hope you enjoyed this craft and look forward to some locker decoration crafts soon. There's a chandelier, magnets, and holders, plus even more! More fun Back To School coming soon so stay tuned. (Radio? I dunno.)
Thanks so much for reading, I appreciate it,
Noor
Cool! I was texting my friend and while i was waiting for her to reply i checked out your blog.
ReplyDeleteThis is awesome, am so going to try it out.
ReplyDeleteWhat type of genre is your favourite?
Check out my poll on my blog:
http://www.whatlexieloves.blogspot.com
I made these for back to school presents. it was fun!
ReplyDelete